In my previous article I showcased how you could setup code quality checks locally, and share that config across developers but that whole setup had one flaw which is that it could be by-passed fairly easily.
There's a very straightforward solution to that, enforcing this check on the CI pipelines as well. This gives you an additional layer of scrutiny so your code quality is practically bulletproof.
Understanding Github actions
To oversimplify, think of Github actions as automated processes you can set up in your repository. GitHub provides virtual machines (Linux, Windows, or macOS) that can run a series of commands, or Actions for you.
You can use these actions to automatically build your code, run tests, and check formatting every time you push a change or open a pull request, streamlining your entire CI/CD pipeline.
Setting up your first Github action
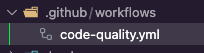
On your main branch, create a directory called .github and create a sub-directory called workflows.
This .github/workflows directory is where all your GitHub Actions will live.
Create a code-quality.yml file. The .yml extension is for YAML, the language used to define your workflow actions.
Yaml is very very very pedantic with formatting. One wrong indentation and you'll waste 30 minutes of your life wondering why you stuff isn't working so save yourself some tears and ask one of the many AI robots to cross verify your configs. 9 out of 10 times if it's not working you've put an additional tab somewhere.
Just copy the below into your code-quality.yml
name: Code Quality

on:
  push:
    branches:
      - '**'
  pull_request:
    branches:
      - '**'

jobs:
  lint:
    name: Code Quality
    runs-on: ubuntu-latest
    steps:
      - name: ⬇️ Checkout repo
        uses: actions/checkout@v4

      - name: 🔧 Setup Node
        uses: actions/setup-node@v4
        with:
          node-version: 'lts/*'
          cache: 'npm'

      - name: 📦 Install dependencies
        run: npm ci

      - name: 🚨 Run ESLint
        run: npx eslint . --max-warnings=0

      - name: 🔍 Run Prettier check
        run: npx prettier --check .
To understand what's going on above and so it doesn't feel like black magic here's a quick summary:
name: Code Quality: Sets the workflow's name, which is displayed in the "Actions" tab of your GitHub repository.
on: : Defines the events that trigger the workflow. In this case, it runs on every push and pull_request to any branch (**).
jobs:: Contains all the jobs that will run as part of the workflow.
lint:: This is the unique ID for a single job within the workflow.
name: Code Quality: The display name for this specific job in the GitHub UI.
runs-on: ubuntu-latest: Specifies that the job will execute on a GitHub-hosted virtual machine running the latest version of Ubuntu.
steps:: A sequence of tasks that will be executed in order for the lint job.
uses: actions/checkout@v3: An action that checks out your repository's code so the job can access it.
uses: actions/setup-node@v3: An action that sets up a Node.js environment. It's configured to use (lts/*) version and to cache npm dependencies for faster builds.
run: npm ci: Installs project dependencies. npm ci is used for continuous integration as it provides faster, more reliable builds than npm install.
run: npx eslint . --max-warnings=0: Command to run ESLint.
The --max-warnings=0 flag ensures the job will fail if any linting warnings are found.
run: npx prettier --check Prettier command to check for formatting issues. Will fail the job if any files are not formatted correctly, without modifying them.
Test your github action
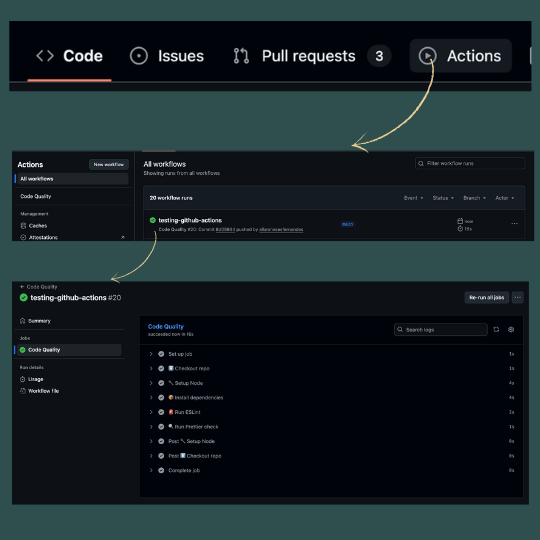
If you now push your commit up to your repo, it should trigger the github action. You can test this has worked by :
- Go to your repositiory on Github
- Click on the
Actionstab and checking theCode Qualityworkflow shows up and has run successfully
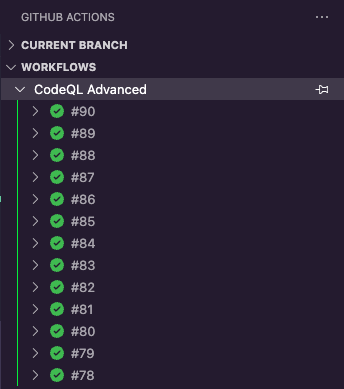
Pro Tip: Use the official Github Actions plugin and you can monitor all your actions running from the editor itself! (you're welcome)
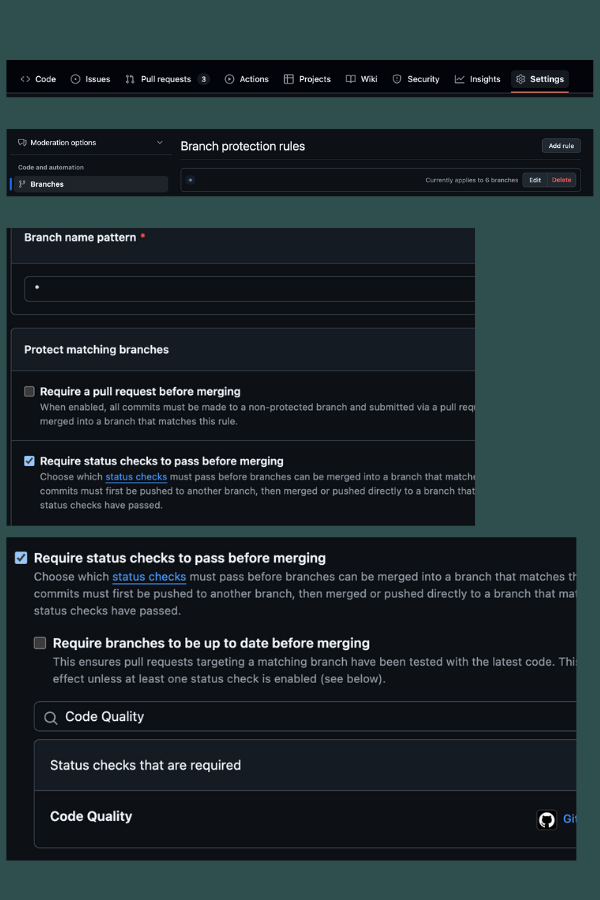
Enable branch protection rules
Final piece of the puzzle is enabling our Action across all branches.
Go to Settings > Branches > Branch Protection Rules > Add rule
- Branch name pattern: *
- ✅ Require status checks to pass before merging.
- Search for
Code Quality(action we fired), this should show up as a Github action. - Hit Create
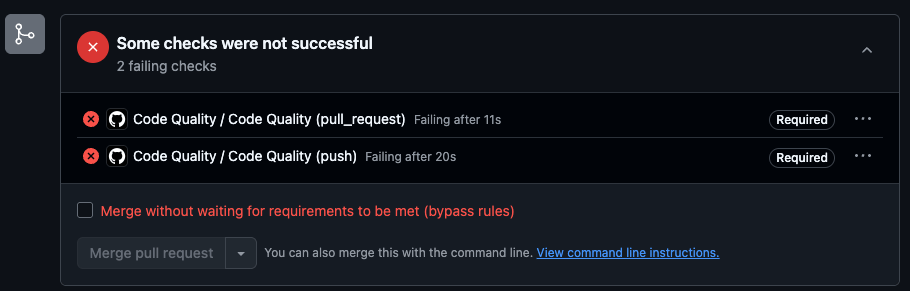
Testing
If you now create a new branch and try pushing some rubbish code up or create a PR with, our Github Action should do its thing.
With that you've enabled a multi-layer check for your repository, everyone's happy, no one's wasting time arguing over single vs double quotes vs tab spacing vs semi colons and we can all go back to maximizing shareholder value.